Introduction
AdviceOS allows a user to integrate their Office 365 account with AdviceOS. Once integrated, they can link their outlook email address and calendar into AdviceOS for additional functionality.
The calendar integration provides a user the ability to review their upcoming meetings, check their diary over the day, week or month, and create new calendar meetings as required.
The outlook integration provides a user the ability to send emails from AdviceOS using the standard ‘Send Email’ dialog, an email record will be created in AdviceOS, however your client will receive this email from your outlook address.
Setting up the integration
To set up this integration, you need to navigate to User management > Office 365 Integration > Authentication. If you do not have access to this location, please contact our support team.
You will need your Office365 email address, password and mobile phone for two factor authentication.
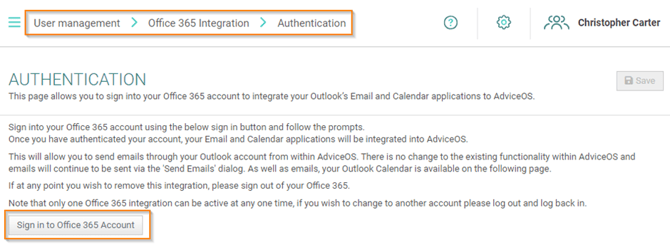
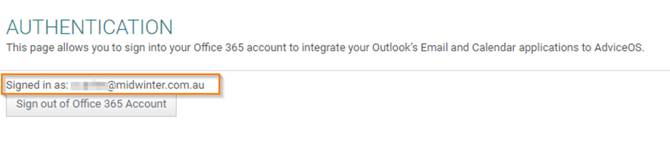
You should see a button that allows you to sign in to Office 365, which you can press.
This will then direct you to the Microsoft Authentication page, where you can select the appropriate email address you want to integrate.
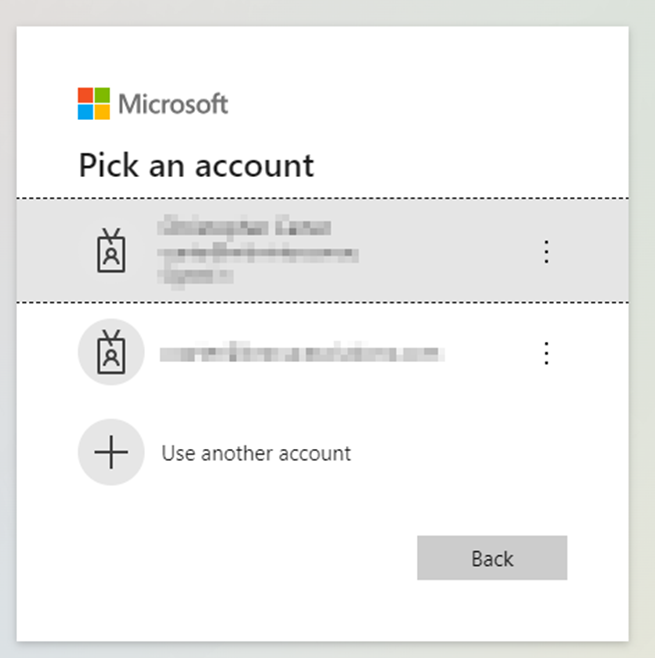
Complete the required sign in process with your Microsoft account. You will note this has worked correctly when the Authentication page updates and notifies you of the email address you are successfully signed into. You have the option to sign out of Office365 if you no longer wish to have this integration active.
IT Approval Required
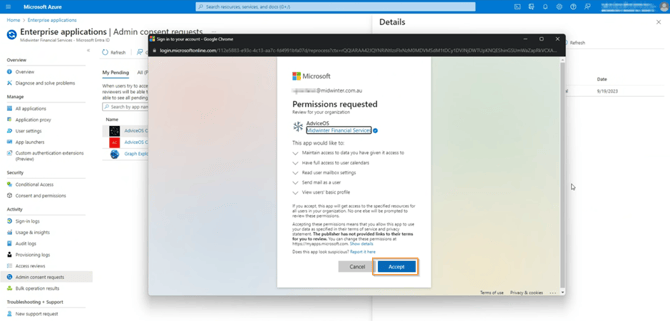
Depending on the restrictions & security levels set by your IT team, you may encounter a warning message and require approval for this app. You will need to speak to your own IT department to authorized this access, this is not something that Midwinter can assist with.

You can add a justification of why you are requesting this app, and once the request has been sent you will be provided with a similar screen to the below. Please reach out to your internal IT team to follow up this request.

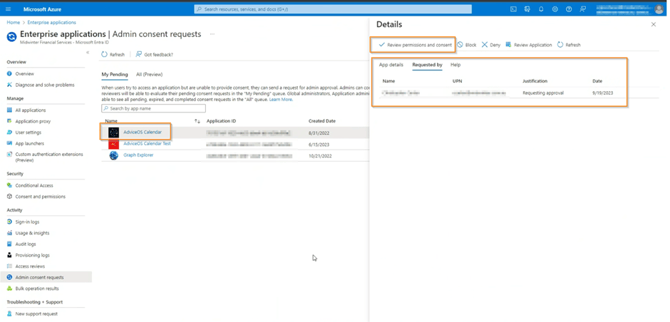
The IT Team will then need to access this request via the Microsoft Azure site, which will look something like the below.
They can navigate to Admin consent requests and review all pending requests, looking out for one titled AdviceOS Calendar.
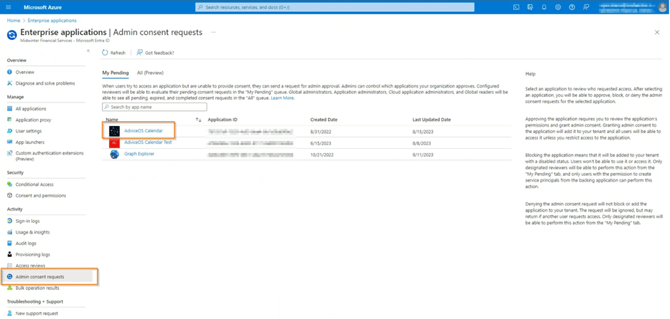
They need to click this request, which will open the details of the request. Then navigate to and click on review the permission and consent, as per the screenshots below.
Please note that this only needs to be completed ONCE for all users within the business. Once it is approved it will remain that way unless the IT team remove that permission again.